Setting Up a Successful Backyard Berry Patch

Have you ever wondered why store-bought berries often taste like nothing compared to the fruit you find at a local market? This guide explains how to select, plant, and maintain a productive berry patch specifically suited for the Northern Ontario climate. We'll look at soil requirements, the best varieties for our zone, and the maintenance routines needed to ensure a heavy harvest every summer.
Which Berries Grow Best in Northern Ontario?
The best berries for our region are hardy varieties like Haskap, Raspberries, and Blueberries that can withstand our harsh winters and shorter growing seasons. You need to pick plants that are resilient to the temperature swings we see in the Cochrane District. If you pick something too delicate, it'll likely die the first time a late frost hits or a deep freeze settles in late October.
Haskap berries (also known as honeyberries) are a massive win for us up here. They are incredibly cold-hardy and often produce fruit earlier than other berries, which is a lifesaver in our shorter summers. Blueberries are also a great choice, but they have very specific soil needs—they crave acidity. If your soil is alkaline, you'll be fighting a losing battle.
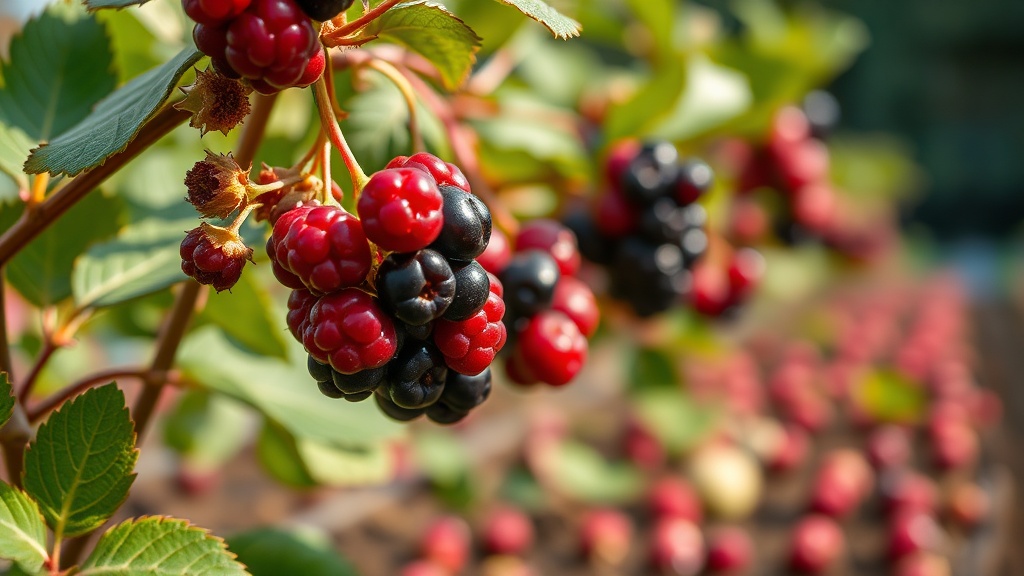
Raspberries are a staple for a reason. They're prolific, but you'll want to decide between summer-bearing and ever-bearing varieties. Summer-bearing types give you one big harvest, while ever-bearing varieties can give you fruit throughout the season if you prune them correctly. It’s a bit of a trade-off between quantity and timing.
- Haskap: Extremely cold-hardy; perfect for early season snacking.
- Blueberries: Requires acidic soil (pH 4.5 to 5.5); great for permanent landscaping.
- Raspberries: Easy to grow; requires much space for spreading canes.
- Strawberries: Low-growing; great for ground cover; needs consistent moisture.
Before you buy anything, check the USDA Plant Hardiness Zone scales, though keep in mind that our local microclimates in Smooth Rock Falls can be a bit more temperamental than the general charts suggest. I always recommend checking with a local nursery if you can, as they know exactly what survives a Northern Ontario winter.
How Much Space Do I Need for a Berry Patch?
You need significantly more space than you might think because most berries spread via underground runners or canes. A common mistake is crowding the plants, which leads to poor airflow and increased disease risk. If you don't give them room, you're basically inviting mold and pests to the party.
Raspberries and blackberries are particularly aggressive. They don't just sit there; they move. If you plant them right next to your garden shed or your vegetable patch, they might just take over. Give them at least three feet of clearance on all sides. Strawberries are much more compact, but they still benefit from a dedicated bed rather than being scattered randomly.
It is worth noting that if you have a small yard, you can use containers or raised beds. This is a great way to control the soil quality—especially if you're growing blueberries—without having to amend your entire backyard. It's much easier to manage a single raised bed with high-quality compost than to try and fix the soil in your whole yard.
If you are just starting out, I'd suggest looking at Ontario's gardening resources to understand how to manage soil health. Proper spacing isn't just about the plants growing; it's about making sure air can move between them to keep the foliage dry.
| Berry Type | Spacing (Plant to Plant) | Spacing (Row to Row) | Soil Preference |
|---|---|---|---|
| Blueberries | 3-4 feet | 4-5 feet | Acidic (pH 4.5-5.5) |
| Raspberries | 2 feet | 3 feet | Loamy/Well-drained |
| Strawberries | 12-18 inches | 2 feet | Rich/Moist |
| Haskap | 3 feet | 4 feet | General/Adaptable |
How Do I Prepare the Soil for Planting?
Successful berry growth starts with preparing your soil by adding organic matter and adjusting the pH levels before the plants ever touch the ground. You can't just dig a hole in our clay-heavy or sandy patches and expect magic to happen. You have to build the foundation first.
For blueberries, this is non-negotiable. You'll likely need to add peat moss or elemental sulfur to drop the pH. If you don't, the plant won't be able to take up nutrients, and it'll turn yellow and die. For almost all berries, adding a healthy layer of compost is a smart move. It improves drainage and provides slow-release nutrients. (I've seen people try to skip this step, and the results are usually a stunted, sad-looking bush.)
If you're starting your garden in the early spring, you might want to look at preparing your garden for a Northern Ontario spring. Getting your soil prep done early ensures that when the ground finally warms up, your plants can get a head start. Don't rush the process—wait for the frost to be out of the ground before you start amending the soil heavily.
One thing to keep in mind: don't over-fertilize with high-nitrogen products. While you want the plants to be healthy, too much nitrogen can actually result in lots of green leaves but very little actual fruit. You want a balance. A well-rotted manure or a dedicated berry fertilizer is usually plenty.
After you've prepped the soil, don't forget the mulch. Mulch does two things for us up here: it keeps moisture in during those dry July stretches, and it keeps the roots cool. A thick layer of wood chips or straw is a great way to protect your investment. Just make sure the mulch isn't touching the actual stems of the plants, as that can cause rot.
What Are the Best Maintenance Tips for a High Yield?
Consistent watering and regular pruning are the two most important things you can do to keep your berry patch productive year after year. Most berries have a "window" where they really need water, usually right when the fruit is developing. If they dry out during that time, the berries will be small and tough.
Pruning can feel intimidating—it feels like you're cutting away the profit—but it's actually essential. For raspberries, you need to prune out the old, woody canes that have already produced fruit. This makes room for the new, vigorous growth that will actually carry the next season's crop. If you don't, the center of the plant becomes a tangled mess of dead wood and old leaves.
Here is a quick checklist for seasonal care:
- Spring: Prune dead wood and apply a fresh layer of mulch.
- Early Summer: Monitor moisture levels; berries need consistent water.
- Late Summer: Harvest frequently to encourage more fruit development.
- Fall: Clear away old leaves to prevent diseases from overwintering in the soil.
Watch out for pests. In our part of Ontario, birds are your biggest enemy once the fruit starts ripening. A simple bird net can be a lifesaver. It's a bit of a chore to set up, but it beats watching your hard work disappear in a single afternoon. If you're growing strawberries, keep an eye out for slugs—they love the dampness of a berry patch.
The goal isn't just to have a berry plant, but to have a productive, long-term part of your landscape. It takes a bit of patience and some dirt under your fingernails, but there is nothing quite like eating a warm raspberry straight from the bush in your own backyard.
Steps
- 1
Choose Your Varieties
- 2
Prepare the Soil
- 3
Planting Day
- 4
Ongoing Care and Hydration